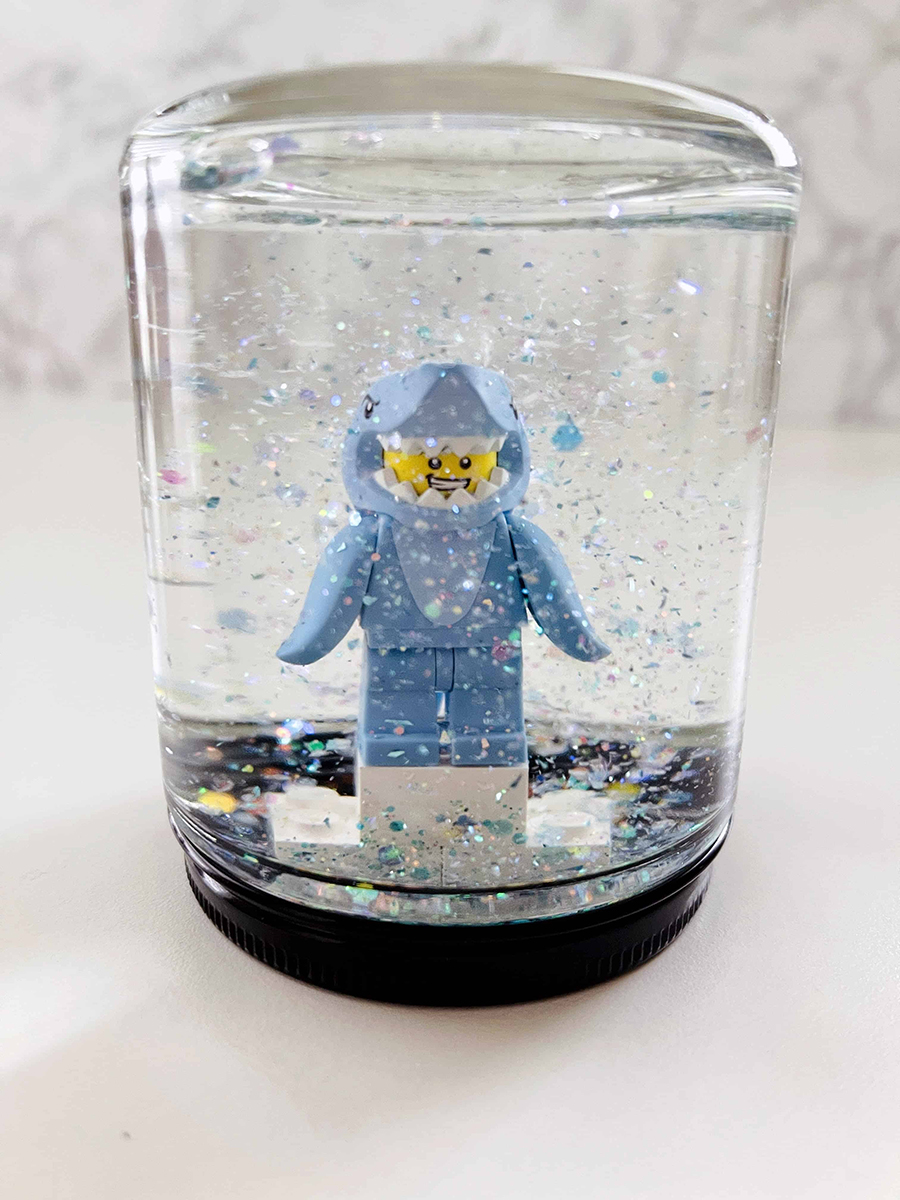
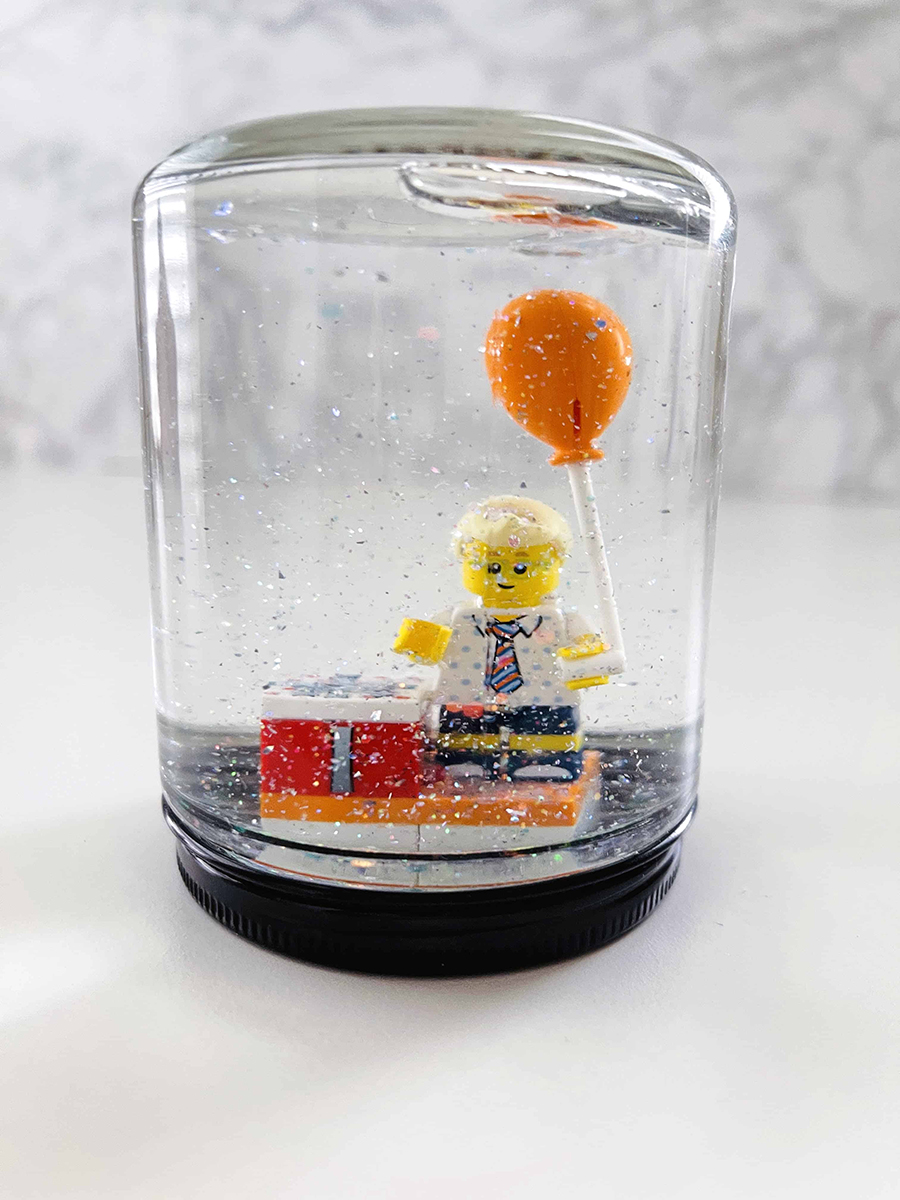
Making DIY snow globes with your kids has several advantages! Kids that engage in creative projects improve their hand-eye coordination, organization, open-ended creativity, problem-solving, and critical thinking. Follow this simple tutorial to learn how to make a homemade snowglobe this holiday season.
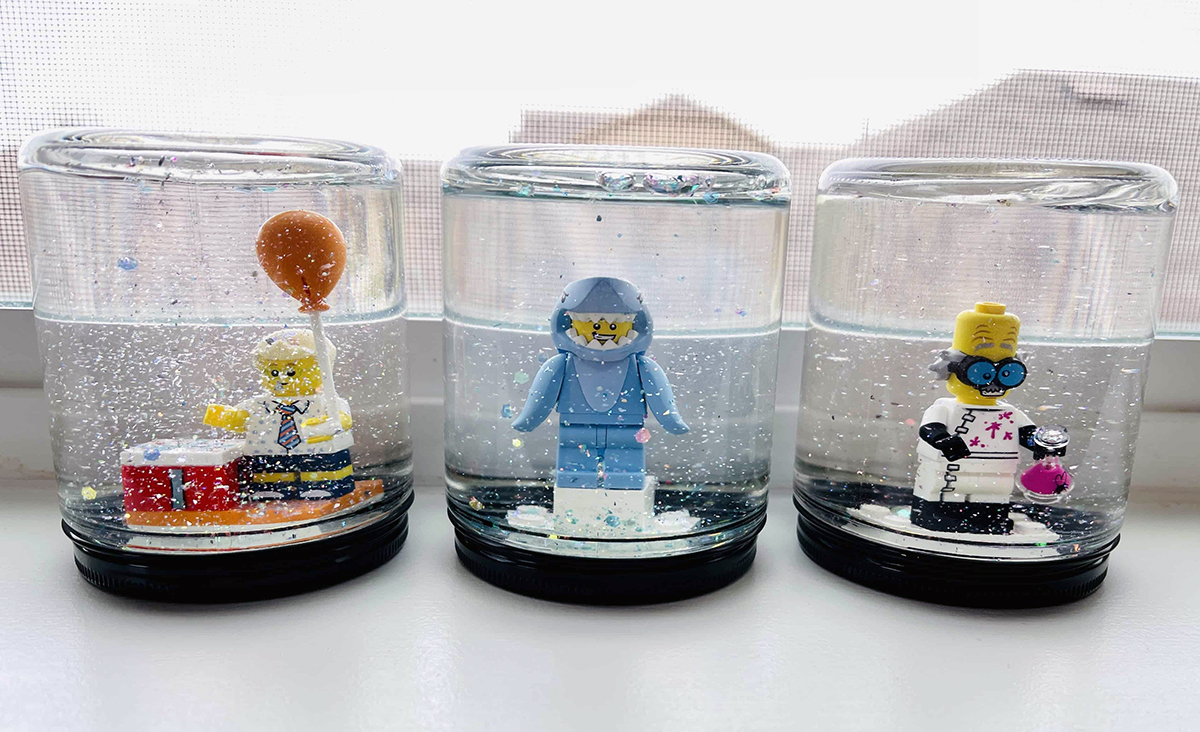
Supplies:
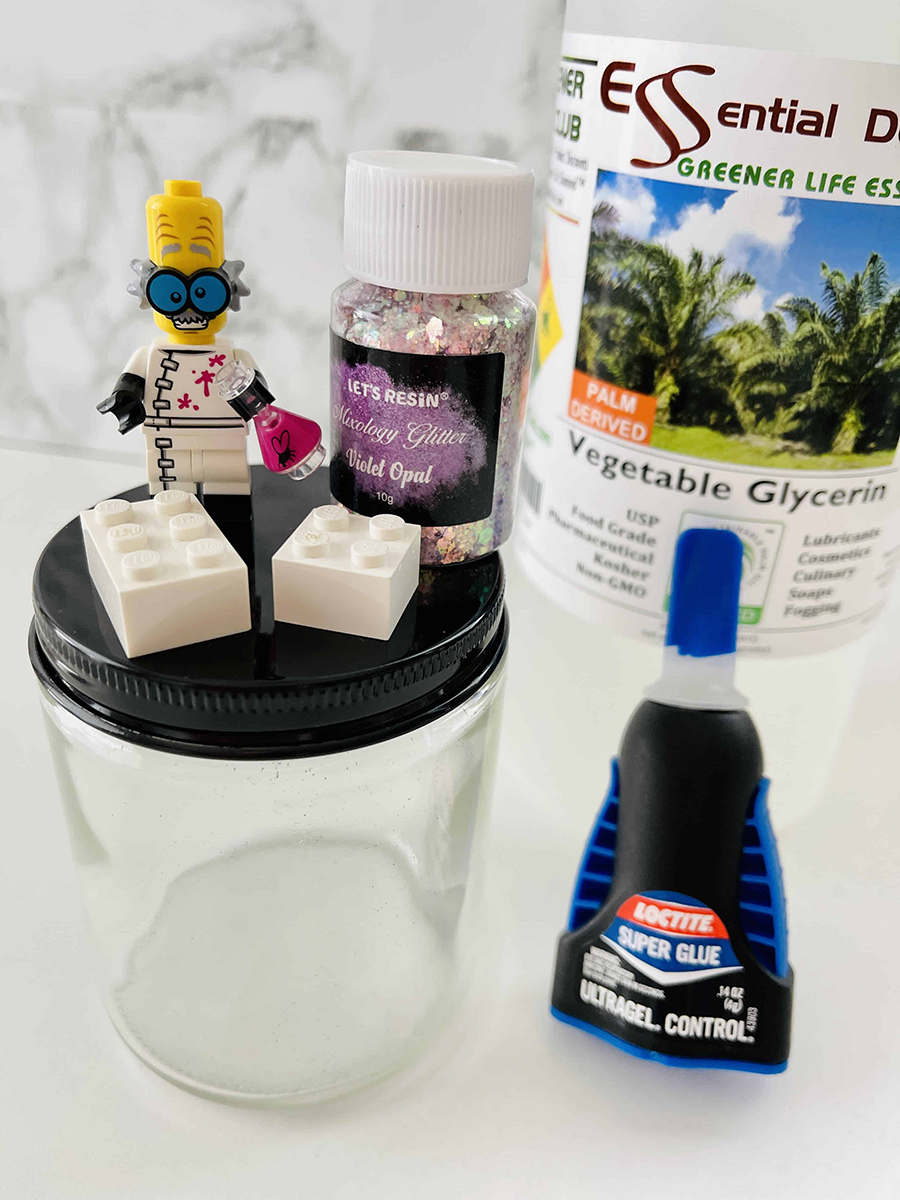
- A jar
- Lego figure (or similar figure to use inside)
- Glitter
- Loctite Super Glue
- Glycerine (optional)
How To Make A Snowglobe
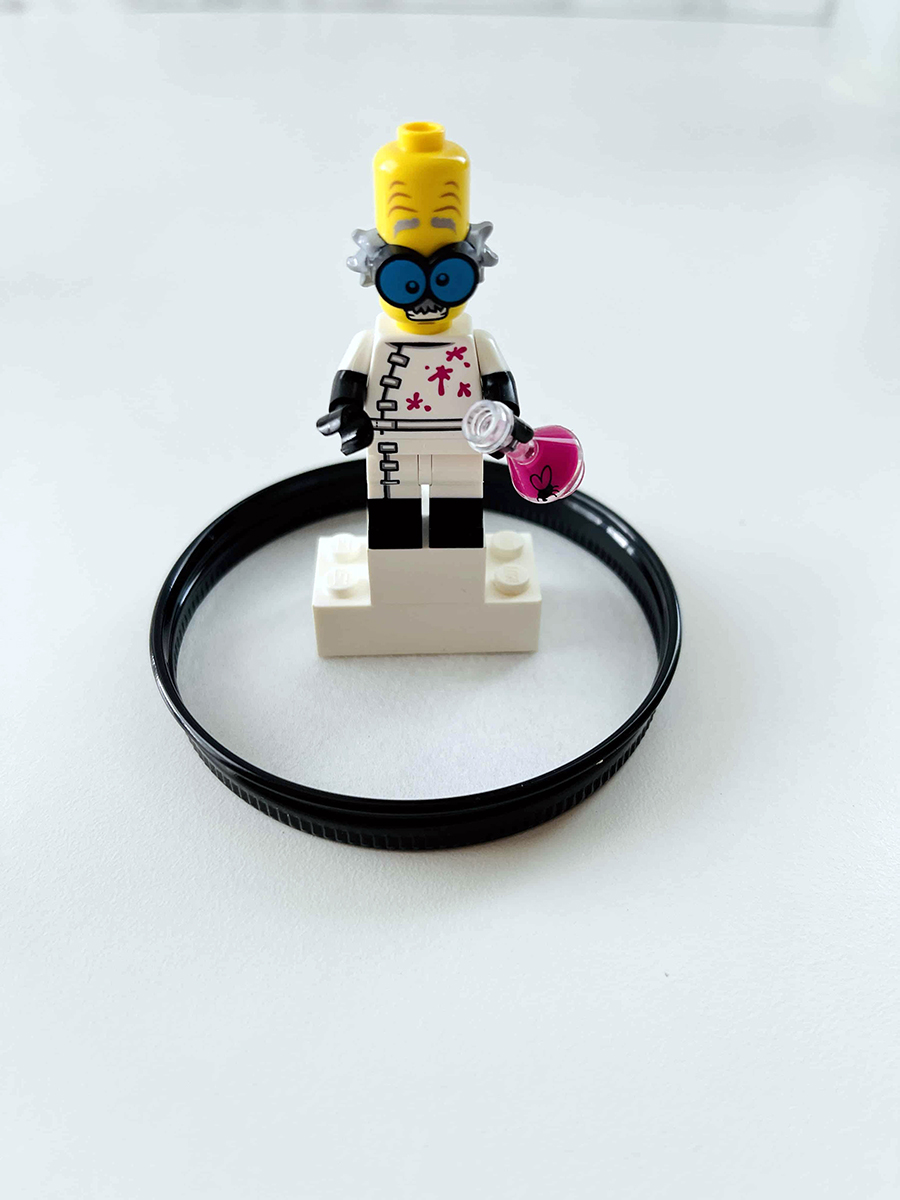
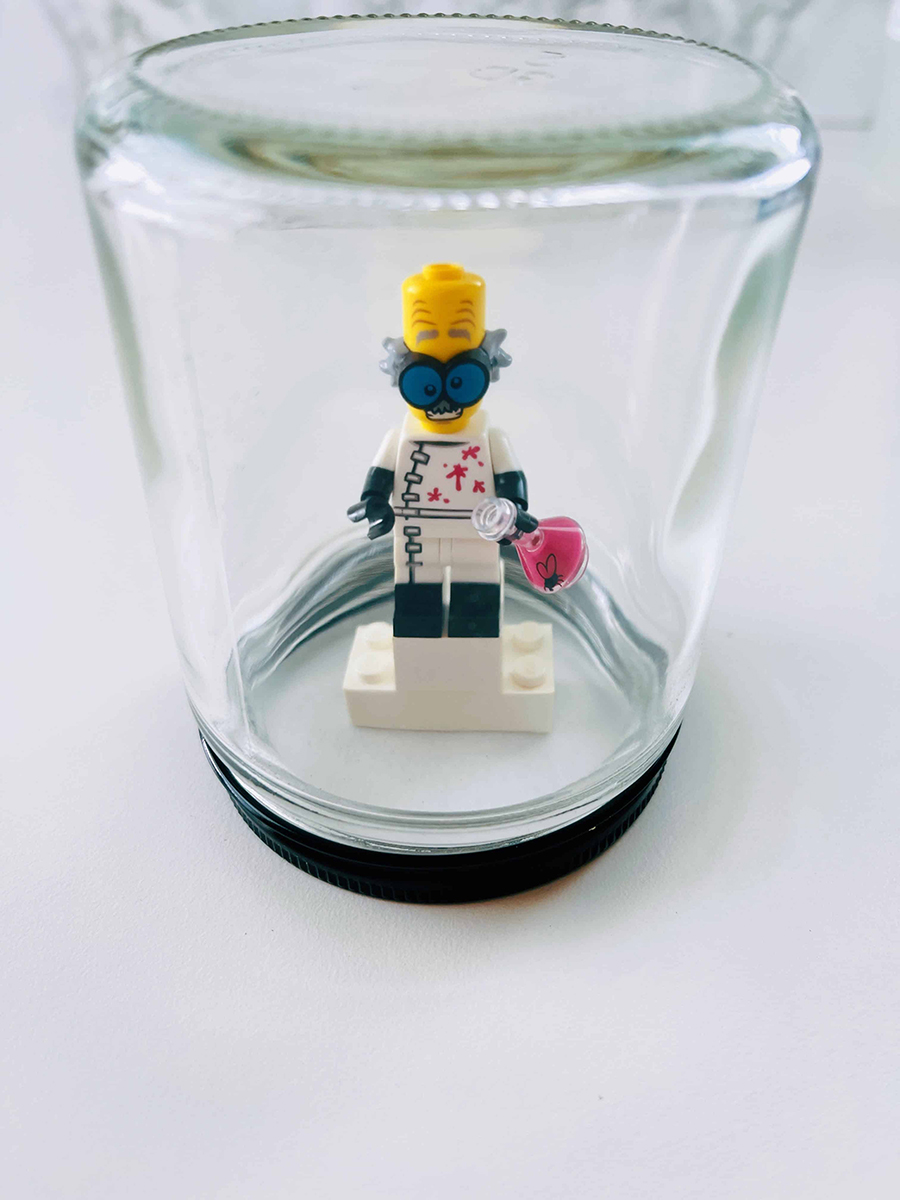
Step 1: Set the scene
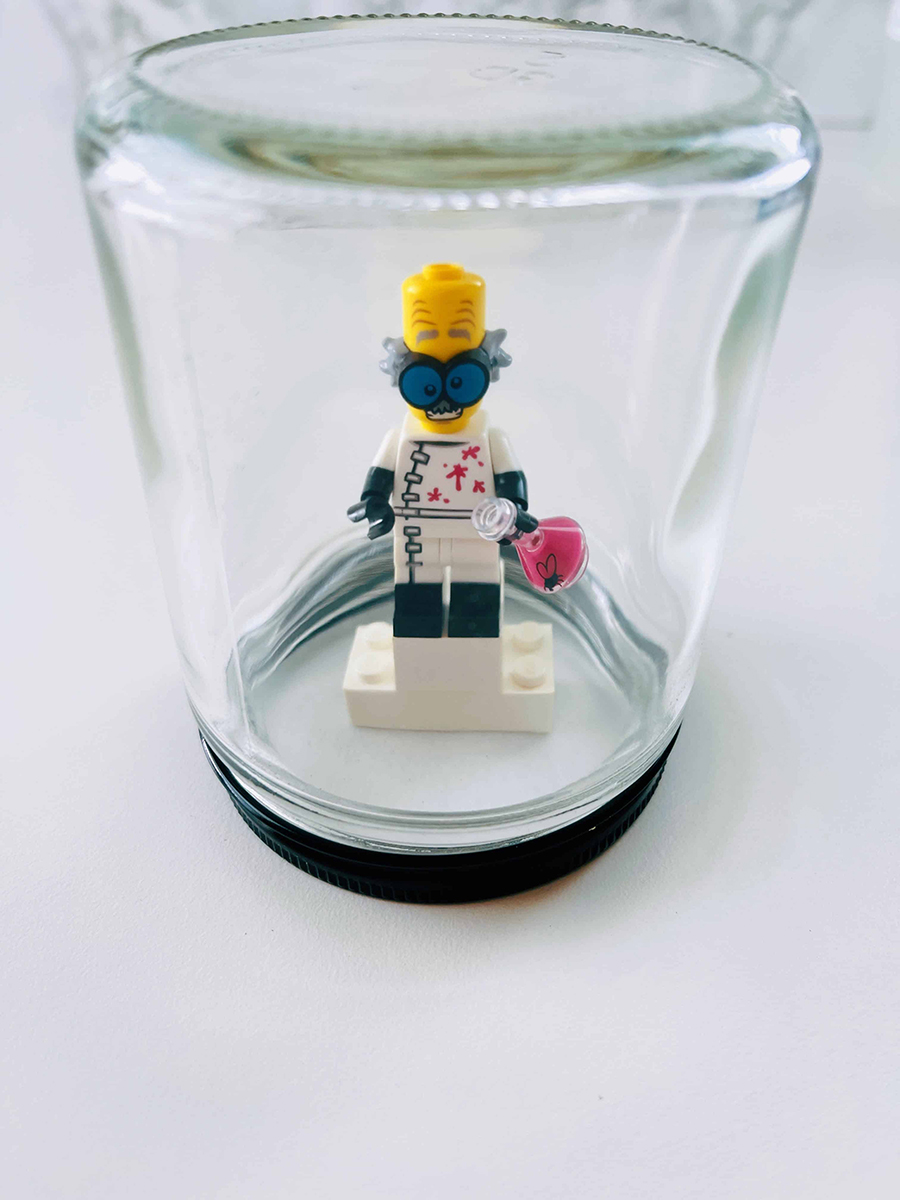
Firstly, you'll want to stage the scene you want to feature inside your snow globe and make sure it fits in your jar. If you are working with very young children, consider using a plastic jar instead of a glass one to avoid mishaps.
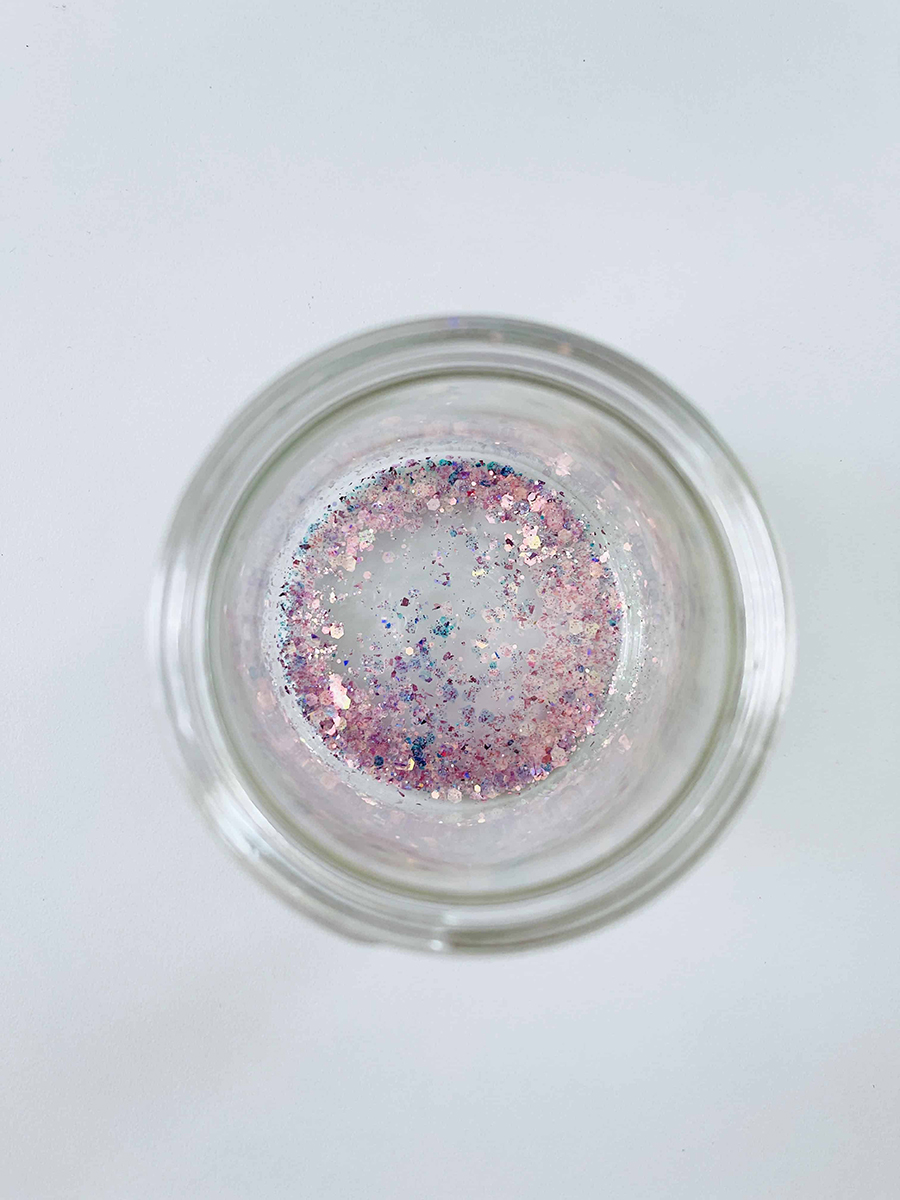
Step 2: Add a teaspoon of glitter to the jar
Try to avoid using glitter that is too fine because it will float to the top of the water and will not spread evenly throughout your snowglobe.
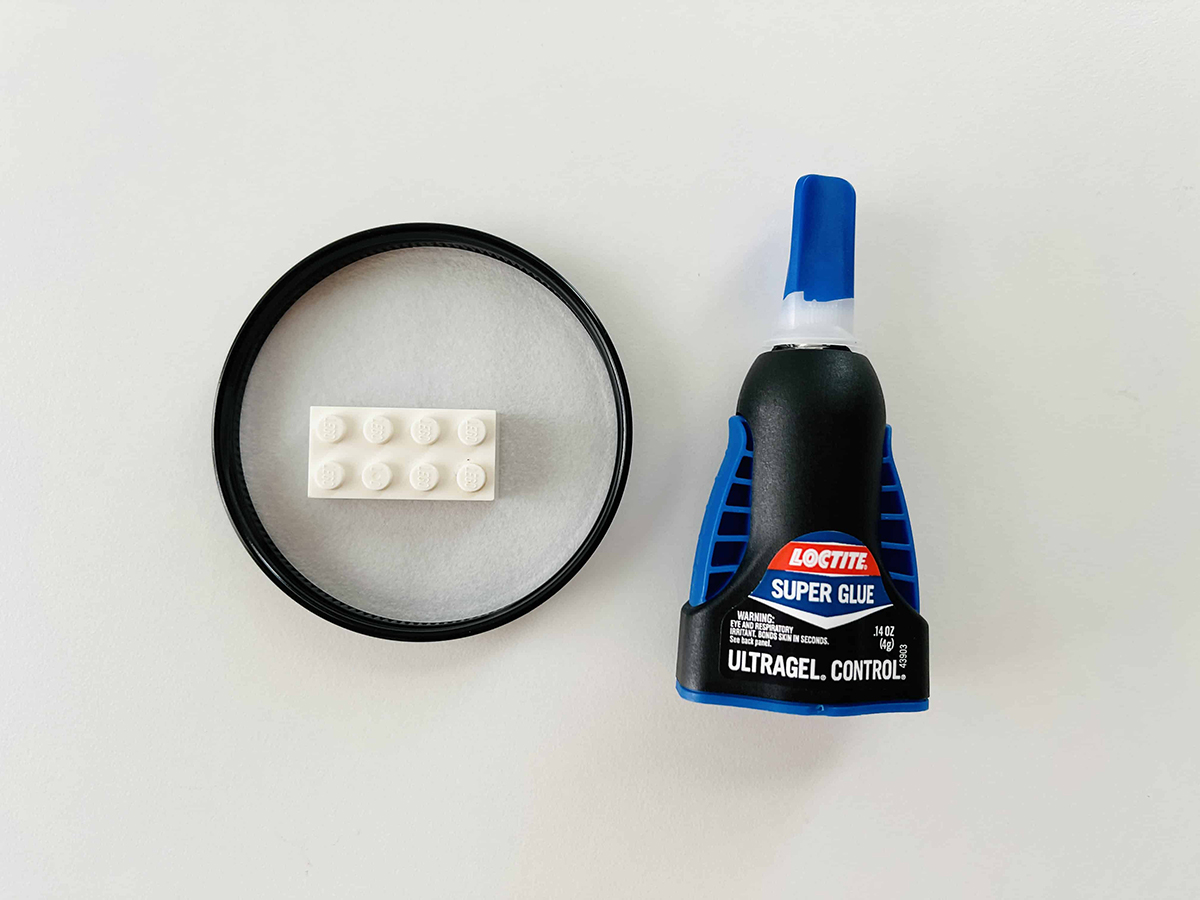
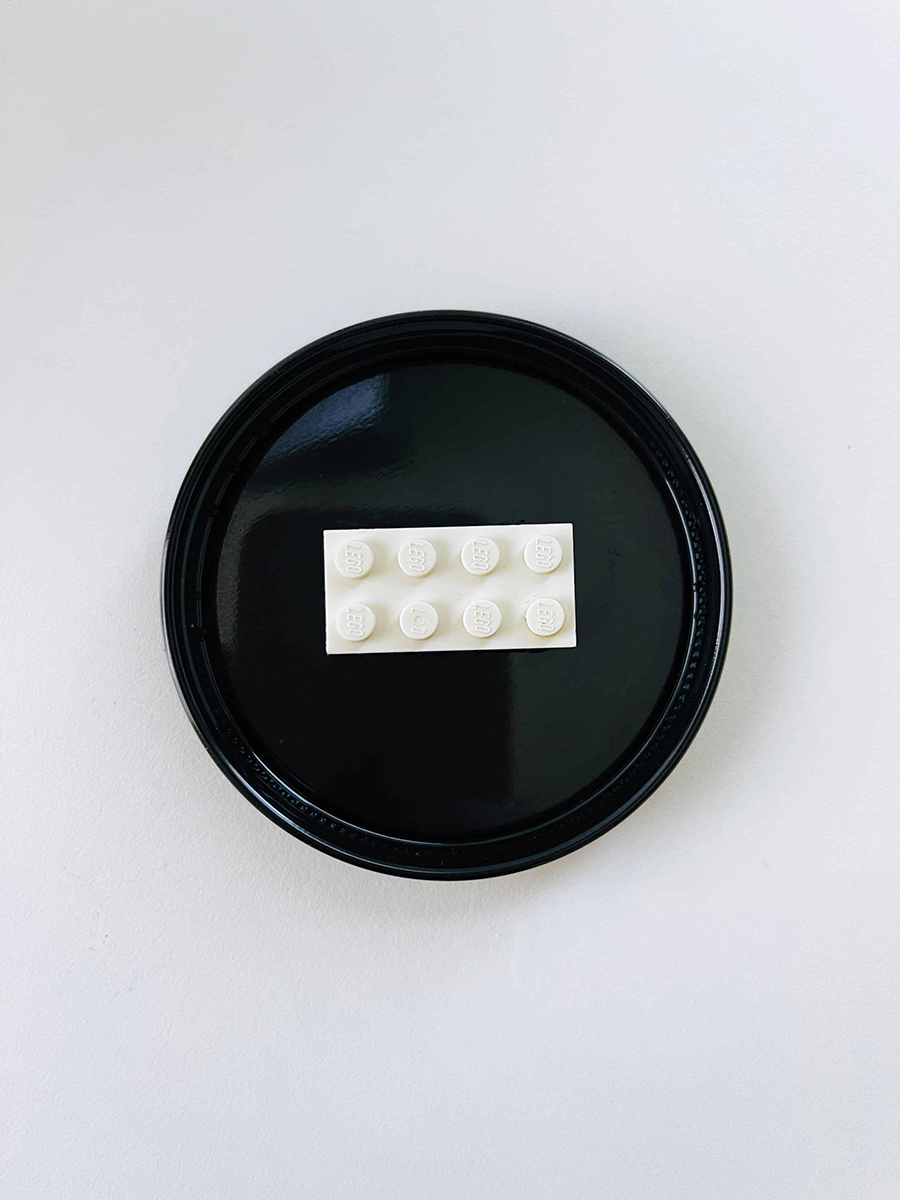
Step 3: Glue down your lego brick and let it dry
We used Loctite Super Glue to glue the lego brick to the jar lid. Please help your kids in completing diy snow globe making step. If your jar comes with a paper cover, you'll want to make sure to remove it first since it's detachable.
It's also worth noting that your brick may lose its adhesion over time since it's completely immersed in water.
Step 4: Fill your jar with water
I found it's best to do this part over a sink because it can definitely get messy. You'll want to fill your jar with water all the way to the top because it helps prevent air from getting trapped inside of your kids snow globe. If you notice that your glitter is clinging to your figure too much, you can use cooled boiling water.
Optional Step 5: Add a teaspoon of glycerin to the water
You can add about 1 tablespoon of glycerin to the water inside your jar and use a plastic spoon to mix it in at the end. This will thicken the water so the glitter to settles more slowly to the bottom of your snowglobe.
Step 6: Seal the jar closed
Finally, screw the lid on tightly and check that it is securely fastened. At this point, you can run a waterproof sealer around the rim of the jar if you want to. Doing this will help keep the lid in place and also help create a watertight seal.
For more fun family projects be sure to check out our blog article for instructions on how to make your own sensory bin for toddlers. Feel free to browse our other crafty blog posts here.
