Whether you picked flowers as a child or received them as a gift for a special occasion, flowers have meaning and remind us of special moments. However, flowers do not last forever, which is why people press them. Pressing flowers is an excellent way to preserve precious memories and enjoy your favorite blooms all year long. There are many techniques for pressing flowers, including traditional methods like using a book and more modern methods such as using a microwave!
As a child, I loved pressing flowers between the pages of books. I remember how hard it was to be patient as I waited for my flowers to be pressed. The process felt like it dragged on for so long and I couldn't stand the wait! I was so eager to see how my beautiful pressed flowers turned out, but I had to keep myself from opening the book to check on them during the grueling 4 week wait.
My love of pressing flowers continues as an adult, but I don’t have any more patience than I did when I was a child. I was very excited to discover that there are several methods of pressing flowers. Some of these methods allow you to speed up the flower pressing process, which means you don’t have to wait forever for them to be ready!
I wrote this detailed guide to share what I learned so that you and your little one can press your favorite blooms and preserve special memories together.
Choosing & Preparing Your Flowers for Pressing
Some flowers are much easier to press than others, and much of this will be trial and error at first. But choosing the right flowers at the right time is an important part of the flower pressing process. With that being said, we've put together a list of helpful hints for finding the perfect flowers and preparing them for pressing.

- If you're going to use flowers from a bouquet, keep them in water until you're ready to press them.
- Make sure your blooms are completely dry because damp flowers will mold.
- Avoid selecting fleshy, water-rich blooms such as succulents or begonias since they are more prone to mold.
- Avoid choosing flowers with tears, dark spots, or that appear blemished.
- Choose flowers that are close to full bloom to capture the flower at its prime for the most colorful print because the color of the flower will fade as it dries.
- Flowers with flat buds and a single layer of petals are the easiest to preserve.
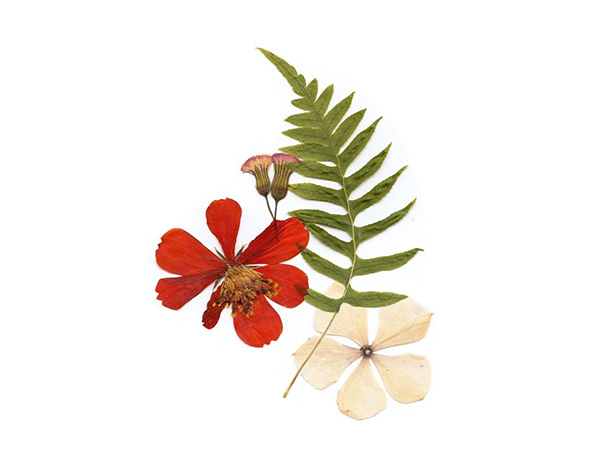
- If your flower is thick, you can cut it in half to make the process easier.
- If you have larger flowers, you may want to separate the petals first and then reassemble the flower once it has been pressed.
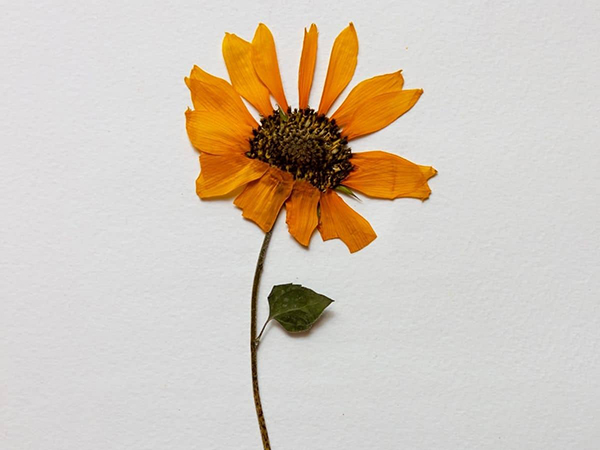
Once you've chosen your flowers, prepare them for pressing. If possible, press your flowers as soon as they are picked; otherwise, put them in a plastic ziplock bag and refrigerate them until you are ready to press.
How to Press Flowers:
There are a few strategies you can take when pressing flowers some of which require more time and supplies than others. It all comes down to the materials you already have on hand. Experiment with each technique to see which one works best for you.
Tip: If you plan on pressing a lot of flowers, you may consider investing in a flower press, which is better for making several prints quickly.
How To Press Flowers With A Book
Using a book to press flowers is a time-tested technique that dates back centuries. This method may take longer, but the results are worth the wait.
Materials:
- Flowers
- Heavy Book
- Absorbent Paper (such as parchment paper, coffee filters, blotting paper, or thin cardboard)
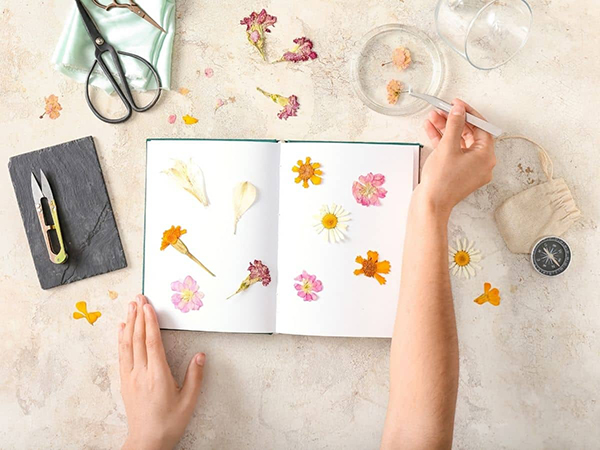
Step 1 - Select Your Book
Choose a thick book, such as a dictionary, or one that you don't mind getting damaged, as the water from the flower may cause the pages to wrinkle.
Tip: Don’t use a phone book, as the paper is too flimsy.
Step 2 - Prepare Flowers for Pressing
Remove any leaves from the stem before pressing your bloom. This is especially important for flowers that were below the water line in the vase since they can decay and develop bacteria. Next, lay your flower out on a piece of parchment paper or any other absorbent paper of your choosing.
Step 3 - Arrange Flowers
Arrange your flowers on the paper, overlapping them if desired. If the paper is large enough, fold it in half; otherwise, cover your flower with another sheet.
Step 4 - Press Flowers
Next, close the book with your flower inside and weigh it down with more books or bricks if you have them. Change the paper after a week or so. You’ll need to leave the flowers in for 3-4 more weeks to make sure they are completely dry.
Tip: Don't open the book unless you're going to change the paper because doing so can potentially disturb the flowers and the process may not work properly.
Using an Iron to Press Flowers
Using an iron is another popular approach for quickly pressing your favorite blooms.
Materials:
- Standard household iron
- Ironing board or other heat-safe flat surface
- Iron safe paper (such as parchment or wax paper)
Step 1 - Flatten Flowers
First, find a flat, heat-safe surface, such as an ironing board, to set your flowers on. Next, place your flowers in between two layers of absorbent iron-safe paper. This will help to eliminate excess moisture from your blooms while also protecting your iron and preventing any accidents. Finally, press your flowers down with a heavy book.
Tip: Both parchment paper and wax paper work nicely as reusable ironing paper.
Step 2 - Empty Water From Iron
Do not add water to your iron, and if your iron has water in it be sure to drain it before moving on to the next step! This will ensure that you don’t accidentally add moisture to the flowers.
Step 3 - Press Flowers On Low Heat
Next, preheat a dry household iron to the lowest setting. Once the iron is warm, place it on top of the parchment paper and move it in a circular motion for around 10 to 15 seconds while gently pressing the flowers. Then remove the iron from the iron paper and wait about 15 seconds until the paper has cooled off a bit and repeat the process, keeping the iron heat level set to low.
Remove the iron from the paper and wait approximately 15 seconds for the paper to cool before repeating the process. Finally, wait a few seconds for the parchment paper to cool before lifting it carefully to see if the flower is stiff and dry.
How to Press Flowers in the Microwave
Yes, you read correctly! Believe it or not, flowers can be pressed in the microwave. You can buy a microwaveable flower press, but it’s also quite simple to make a DIY version of one yourself. Follow the instructions below to quickly press flowers using a microwave!
Materials:
Here’s what you’ll need to press flowers in the microwave:
- Flowers or leaves
- Paper towels or 100% cotton rags
- A heavy microwave-safe dish or container to use as a weight
Step 1 - Arrange Flowers
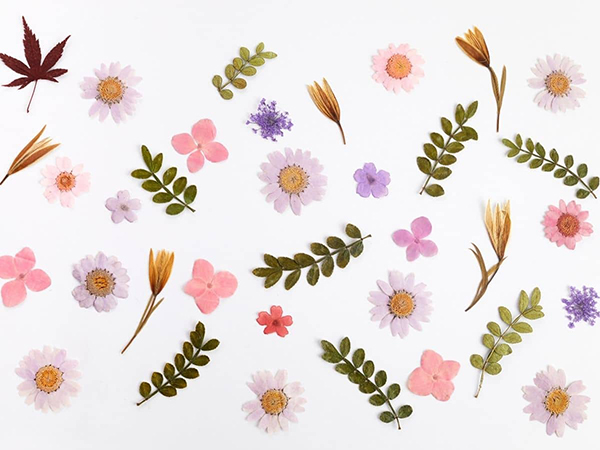
First, arrange your flowers on top of a piece of paper towel or on a cotton dishcloth. Arrange the flowers however you want them to look because that's how they'll dry. Also, be sure to flatten and smooth out the petals before placing them in the microwave. Finally, cover your flowers with another paper towel or, if the dishcloth is large enough, fold it in half.
Step 2 - Place Flowers in the Microwave
Place your flowers in the microwave and set a heavy microwave-safe dish on top so they’re pressed down. Don't worry if your blooms are thicker because they will naturally flatten as they dry!
Step 3 - Microwave Flowers On Low Power
Microwave your flowers on half power for about 30 seconds, then check to see whether they are dry. They should feel almost like paper when they’re completely dry. If they still feel moist, put them back in the microwave and repeat the process for another 30 seconds until the flowers are mostly dry.
Once your flowers are mostly dry, remove them from the microwave and let them cool. Don’t worry if they aren’t completely dry because they will get stiffer as they cool down.
Tip: Depending on the size of your blooms, you may need to repeat the heating process 4-5 times. Smaller flowers dry faster, so don't overheat them or they'll turn brown.
Using A Flower Press
Flower presses make preserving flowers easy, and they work exceptionally well! There are many different kinds to choose from, but if you want something sturdy and long-lasting, we suggest investing in a wood flower press. Wooden flower presses are durable and built to last for years to come. They also come in different sizes, so you can use them to preserve large flowers.
A traditional wooden flower press typically consists of two pieces of wood that are tightened together using bolts and wingnuts. You can buy a wooden flower press at your local craft store or make one yourself if you're feeling ambitious.
Step 1 - Unscrew Wing Nuts & Arrange Flowers
First, unscrew the wing nuts and cover the bottom board with parchment paper or wax paper. Next, arrange your flowers on the paper and place another piece of paper on top.
Step 2 - Tighten The Board
After you've arranged your flowers, tighten the wing nuts to secure the top board.
Step 3 - Allow Flowers To Dry
Now you’ll have to wait for 3-4 weeks until your flowers are fully dry. Remember to change your paper every week to prevent your flowers from browning.
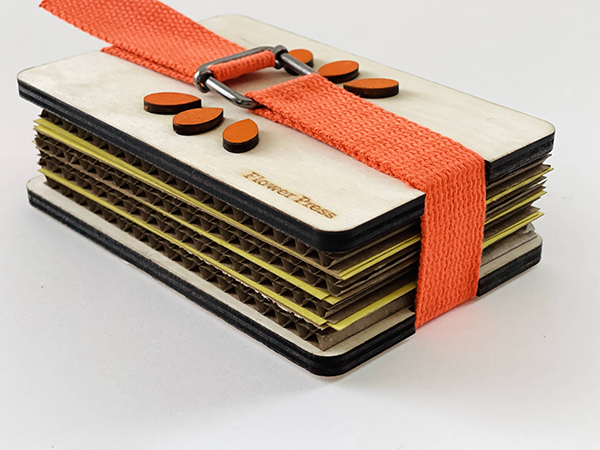
Portable Pocket Flower Press Kit
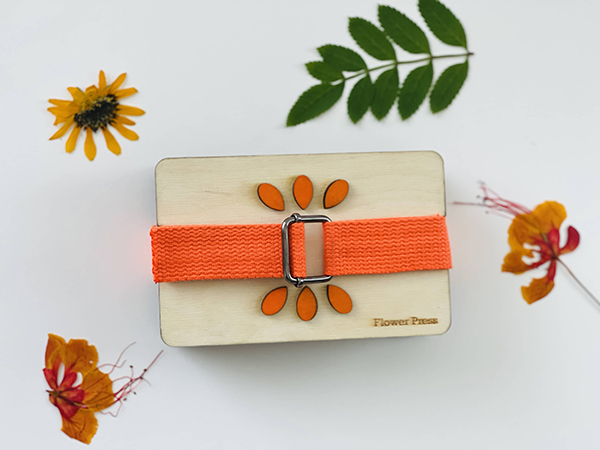
We love this pocket flower press from My Papercut Forest because it’s lightweight and portable so you can take it with you on your next hike or family walk. It’s perfect for preserving special blooms right on the spot. This mini flower press comes with 4 cardboard inserts and 6 pieces of yellow blotting paper so you have everything you need to start pressing flowers.
How To Use It:
Step 1 - Arrange Flowers
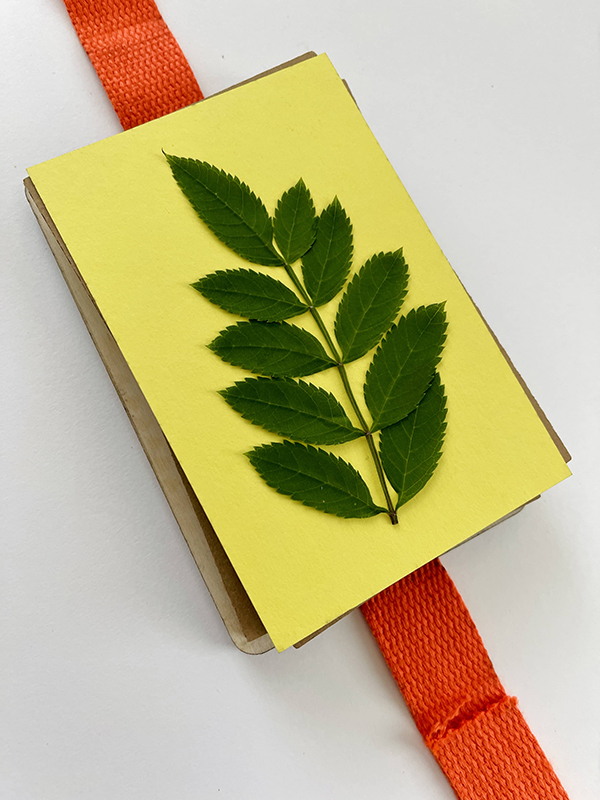
Arrange your flowers between two pieces of plain yellow paper to absorb any excess moisture. Then place the yellow paper between the cardboard inserts. Repeat the process until the press is filled with your favorite blooms.
Step 2 - Reassemble
Reassemble and tighten the strap.
Step 3 - Wait 3-4 Weeks
You should leave your flowers to dry in the press for 3-4 weeks, although the drying time will vary. It all depends on the moisture content of the flowers as well as the temperature and humidity of the surrounding environment.
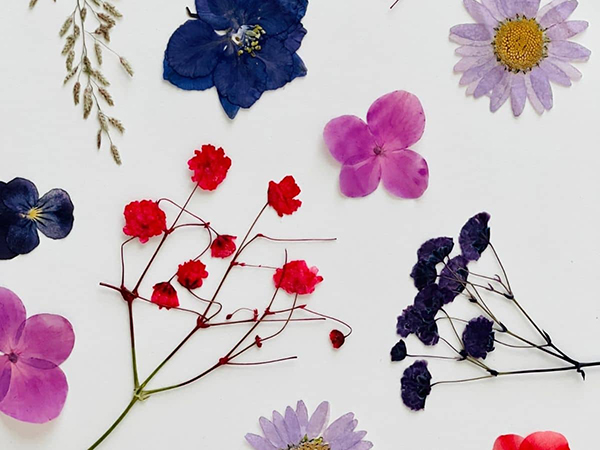
Flower pressing is a fantastic way to capture special moments and a fun activity to try with your little ones. Dried blooms look beautiful when used as home decor, adding a botanical aesthetic to any space.
Kids can also collect them and use them to make unique personalized greeting cards for their friends and family members. What do you think? Are you going to give this activity a try? Share your thoughts and ideas in the comments below.
Check out our blog for more family-friendly activities. We also have an excellent subscription box with fun activities and unique items that the whole family can try. Learn more about the Howdy Baby Box on our About Page.

